

Short answer: Choose an angel eyes halo ring size by measuring the exact mounting path inside the headlight, not by relying only on the vehicle model or projector label. Confirm the available outer diameter, required inner opening, ring width and depth, wire exit, controller space, and housing closure. Then make a template or test the exact sample before approving a wholesale order.
This method is useful for retrofit shops, distributors, importers, and other B2B buyers comparing round halo rings, shaped angel eyes, and projector-shroud products.
Why the diameter label alone is not enough
A stated diameter is only useful when the supplier and buyer are measuring the same part of the product. One listing may describe the outer diameter, while another may emphasize the illuminated area or the projector application. A nominal projector size also does not guarantee one universal halo ring diameter because shrouds, mounting positions, and housing layouts differ.
Before comparing products, ask for a dimension drawing or a clear photo showing where each measurement is taken. The exact model should be identified in the quotation, sample request, and bulk-order confirmation.
Measurements to confirm before choosing a halo ring
| Measurement | What it means | Why it matters |
|---|---|---|
| Outer diameter (OD) | The maximum outside dimension of a round ring | Confirms whether the ring can fit within the available mounting area |
| Inner diameter or opening (ID) | The clear opening inside the ring | Confirms clearance around the projector, lens, reflector, or visible opening |
| Ring width | The difference between the outer and inner edges | Affects the mounting surface and how much surrounding space is covered |
| Profile depth | The front-to-back thickness of the product and any attached components | Helps confirm lens clearance and whether the housing can close |
| Mounting surface | The actual path or area where the ring will be fixed | May be different from the visible projector or shroud diameter |
| Wire exit | The position and direction where wires leave the ring | Can create interference even when the diameter appears correct |
| Driver or controller space | Space required for supplied electrical components | Prevents placing the ring correctly but leaving nowhere for the complete system |
Step 1: Decide the exact mounting position
First decide where the angel eyes will sit. Common positions include around a projector lens, on a projector shroud, inside a reflector area, or on a custom panel. These positions can require different measurements in the same headlight.
Mark the planned mounting path in the open housing or on a spare housing. If the headlight has not been opened, avoid approving a size from an exterior photo alone. Exterior lens shape does not show every internal obstruction.
Step 2: Measure the maximum available outer diameter
Measure the available outside dimension across the intended mounting path. Check more than one direction because the space may not be perfectly round. Look for nearby trim, reflector edges, screw posts, adjustment mechanisms, and housing ribs.
The ring must fit the actual installation area, including its frame or backing. Do not use only the illuminated line as the product’s outside dimension.
Step 3: Measure the minimum required inner opening
Measure the part that must remain unobstructed, such as the projector lens, shroud opening, reflector, or another optical component. The halo ring should not interfere with the intended beam path, moving parts, or service access.
For projector installations, record both the projector reference and the physical opening. Two products described for the same nominal projector category may use different shrouds or mounting positions.
Step 4: Check width, depth, and housing closure
A diameter match does not confirm complete fitment. Check the ring width and front-to-back profile, then confirm clearance from the outer lens and internal components. Include any brackets, clips, adhesive layer, covers, wires, drivers, or controllers used in the planned installation.
Temporarily position a template or sample and test whether the housing can close as planned. The installation should not force the product against the lens or compromise the housing closure and sealing method.
Step 5: Check mounting points and wire routing
Decide how the ring will be secured before ordering. The mounting method may use product-specific clips, holes, brackets, or an installer-selected adhesive method. Confirm that the chosen method has a stable surface and does not block the illuminated area.
Trace the wire route from the ring to the driver or controller. Check the wire exit direction, connector size, pass-through location, and strain-free routing. A ring that fits by diameter can still be unsuitable if the wire must cross a moving part or prevents the housing from closing.
Step 6: Allow practical installation tolerance
Do not select a product that depends on a forced fit. Leave practical clearance for normal installation variation, the mounting method, and wire routing. There is no single universal clearance value because ring construction and headlight geometry differ.
If the available space falls between two standard options, send the measurements and mounting photos to the supplier. Confirm the exact product dimensions and test the more suitable sample instead of assuming that the larger ring can be modified during installation.
Step 7: Make a paper or cardboard template
A simple full-size template is a low-cost way to catch measurement mistakes. Mark the proposed outer edge, inner opening, width, wire exit, and mounting points. Place the template in the intended position and check it from the front and side.
A template cannot prove electrical performance or the final appearance, but it can help remove obviously unsuitable sizes before sample shipping.
Step 8: Test the exact sample in the actual housing
Final fitment should be confirmed with the exact product model, not a visually similar item. Install the sample in the intended housing or a representative test assembly. Check placement, closure, wire routing, controller space, lighting effect, pair consistency, and the finished appearance from normal viewing angles.
Use the angel eyes sample testing checklist to document the approved result before a bulk order.
Round halo rings and shaped angel eyes need different checks
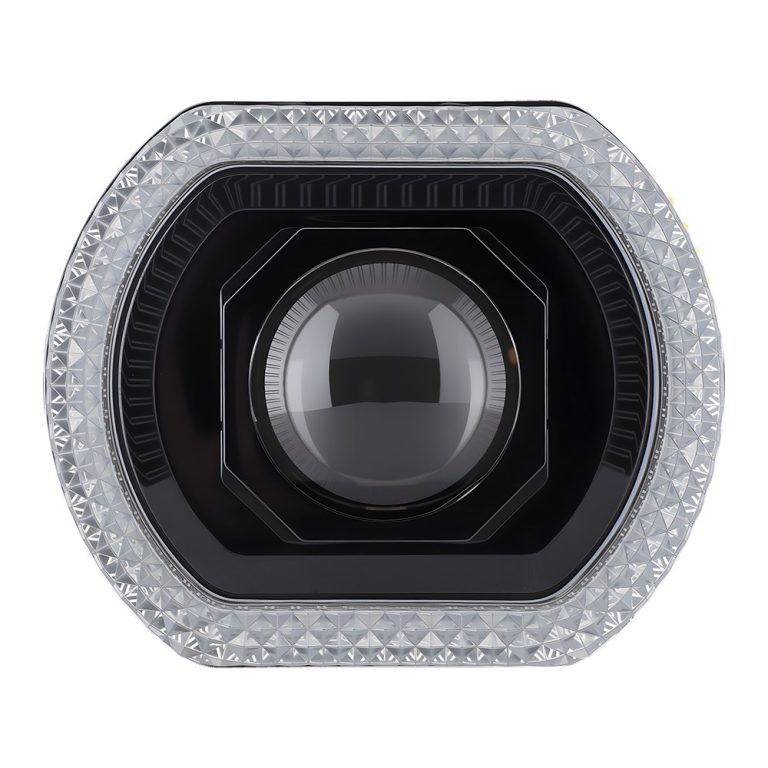
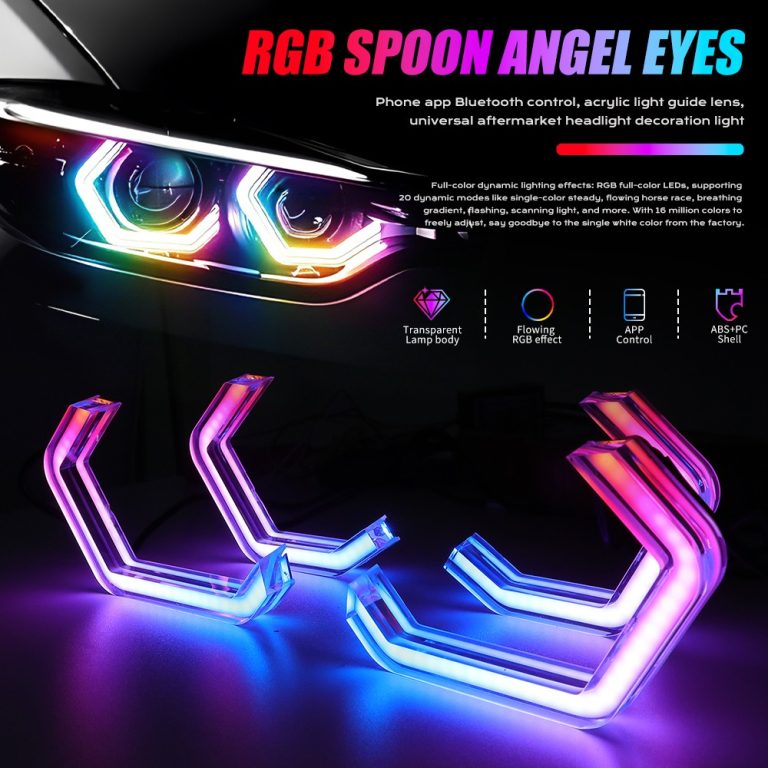
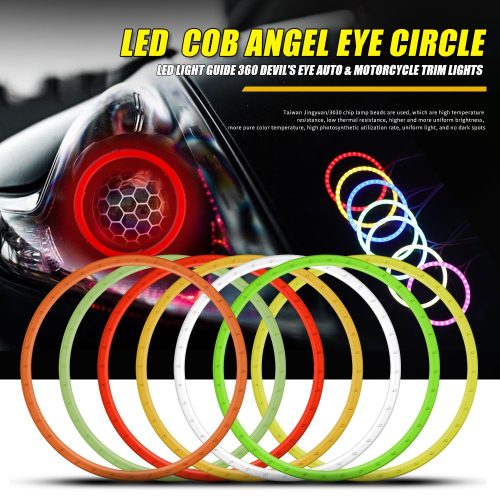
Round halo rings are usually compared with outer diameter, inner opening, width, depth, and wire position. Shaped angel eyes and projector-shroud products also require overall width and height, projector opening, contour, orientation, mounting points, and clearance around decorative sections.
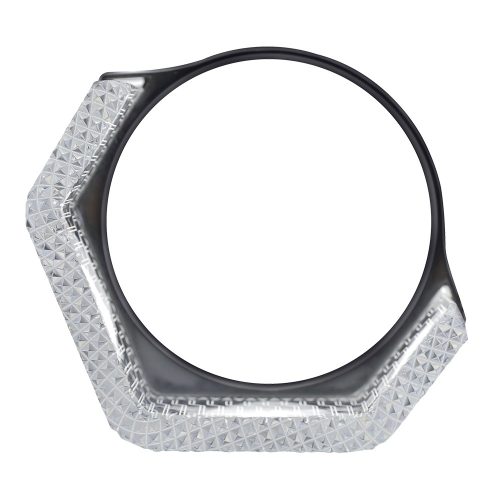
Buyers comparing product construction and appearance can also read COB vs 5D crystal angel eyes.
Common angel eyes sizing mistakes
- Choosing by vehicle model only: Headlight versions, previous modifications, projector swaps, and mounting positions can differ.
- Confusing outer diameter with illuminated diameter: The complete product frame may be larger than the visible light line.
- Treating projector size as halo ring size: A projector label does not define the shroud or mounting-path diameter.
- Ignoring product depth: A ring may fit from the front but contact the lens when the housing closes.
- Ignoring the wire exit: The connector and wire route can create a fitment problem outside the ring itself.
- Approving from photos only: Perspective and image scale are not reliable physical measurements.
- Mixing samples without labels: Record the exact model and dimensions of every tested option.
Angel eyes size request template for buyers
We need an angel eyes halo ring for a headlight retrofit. Product type: [round ring / shaped ring / projector shroud]. Intended mounting position: [insert]. Maximum available outer dimension: [insert]. Minimum required inner opening: [insert]. Available front-to-back depth: [insert]. Wire exit preference: [insert]. Projector or shroud reference: [insert]. Vehicle and headlight version: [insert]. Sample quantity: [insert]. Estimated bulk quantity: [insert]. Please confirm the exact model dimensions, included driver or controller, sample availability, customization feasibility, and bulk lead time.
Attach front, side, and mounting-area photos with a ruler or dimension marks. For shaped products, include the maximum width and height as well as the opening size.
Information to confirm for a wholesale order
- Exact product code and approved sample reference
- Outer and inner dimensions or complete dimension drawing
- Ring or shroud shape, profile, and wire exit
- Lighting effect, controller, driver, connectors, and included accessories
- Confirmed model-specific electrical information
- Mounting and packaging requirements
- Sample quantity, bulk quantity, destination, and required timing
- Available model-specific documentation and warranty terms
Detailed voltage, power, lumen, waterproof rating, packing size, and certification availability will be confirmed by exact model before quotation.
How WANGHOI supports size confirmation
Angel eyes halo rings and demon eyes are core WANGHOI factory-produced categories. WANGHOI also coordinates additional automotive and motorcycle lighting products through long-term partner factories for B2B sourcing.
Size and customization can be discussed using the exact measurements, product reference, quantity, and installation requirement. For in-stock samples, dispatch can often be arranged on the same day after the sample fee is received, subject to final stock confirmation and order time. Bulk orders are generally planned within 3-15 days depending on the model, quantity, and customization.
WANGHOI normally states a 12-month warranty and continues to support long-term customers according to the actual transaction and product issue. When a verified WANGHOI error causes customer loss, the issue is addressed directly and a practical resolution is discussed.
Frequently asked questions
Can I select an angel eyes size from the vehicle model?
Not reliably for a custom retrofit. The vehicle model is useful background, but the headlight version, projector or shroud, previous modifications, mounting position, and internal space should be measured.
Is halo ring size the same as projector size?
Not necessarily. The projector label describes the projector category, while the halo ring must fit a specific mounting path or shroud. Confirm both the physical opening and the outside installation space.
What should I do if the available space is between two sizes?
Confirm the supplier’s exact dimensions, mounting method, and wire position. Use a full-size template and test the exact sample. Avoid forcing a ring into a space that does not provide practical installation clearance.
Can a custom angel eyes size be produced?
Customization can be discussed. Feasibility, tooling, cost, minimum quantity, and timing depend on the exact product construction, required dimensions, effect, and order quantity.
Next step: Browse the Angel Eyes product category, review the wholesale supplier guide, or contact WANGHOI with your dimension sheet and installation photos.